VIATERRA GRID MK3 – FULL GAUNTLET MOTORCYCLE RIDING GLOVES
In stock
-
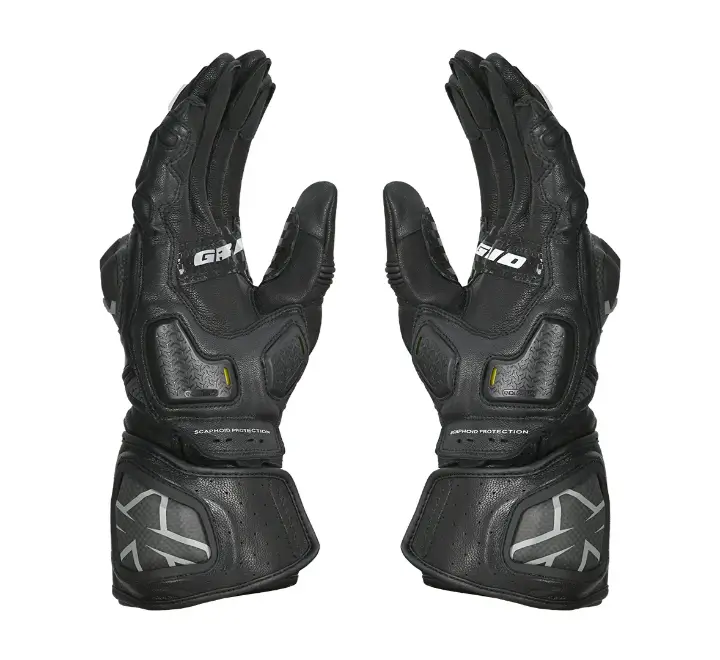
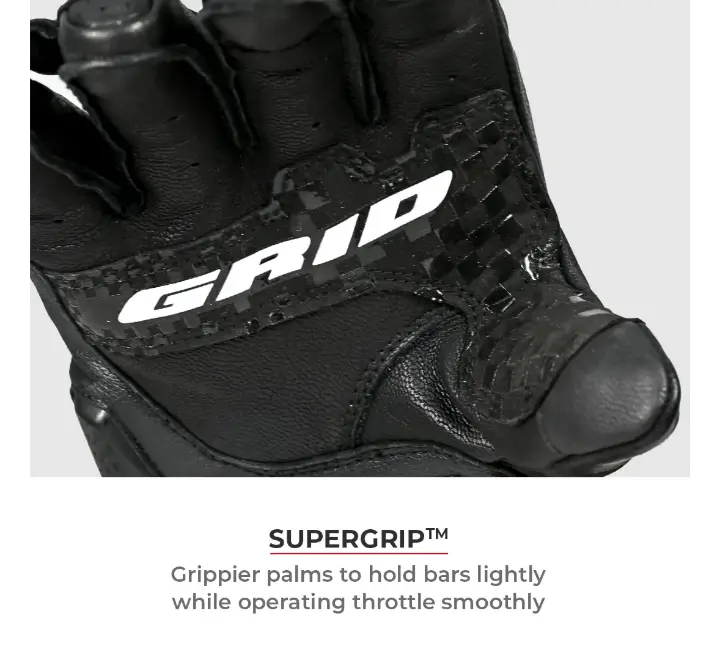
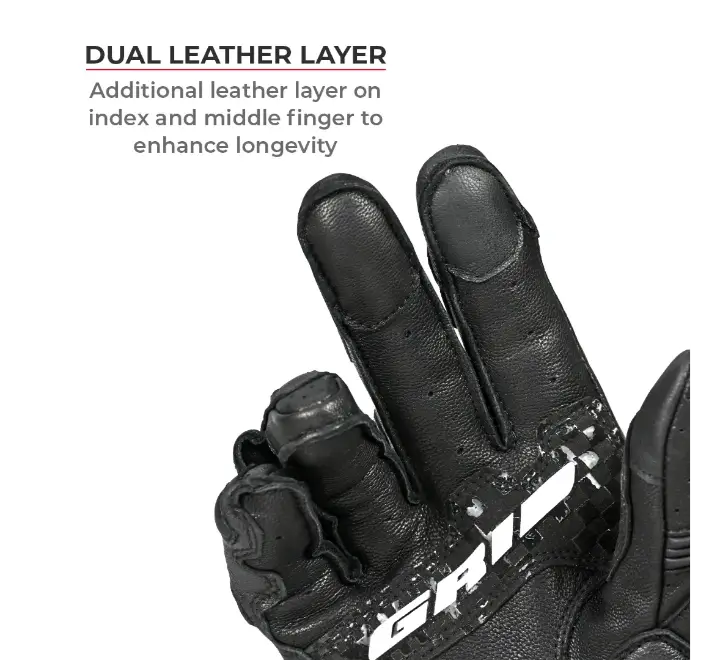
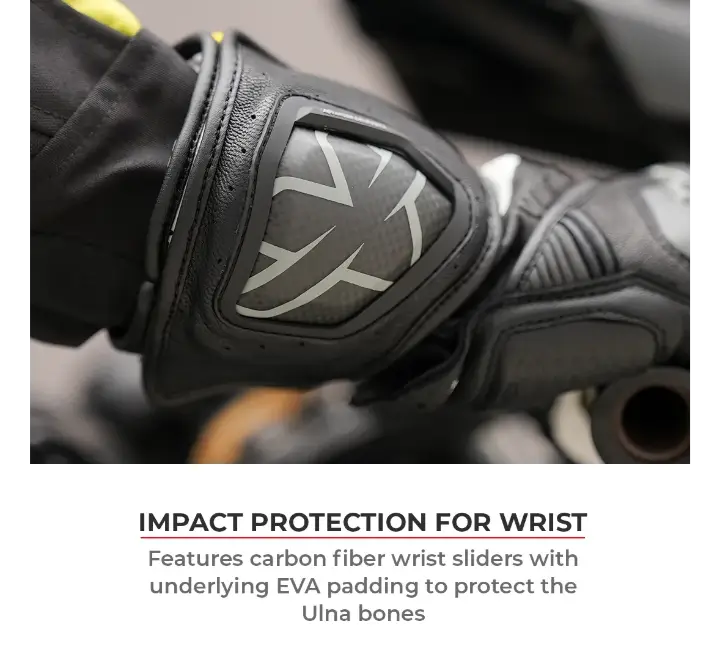
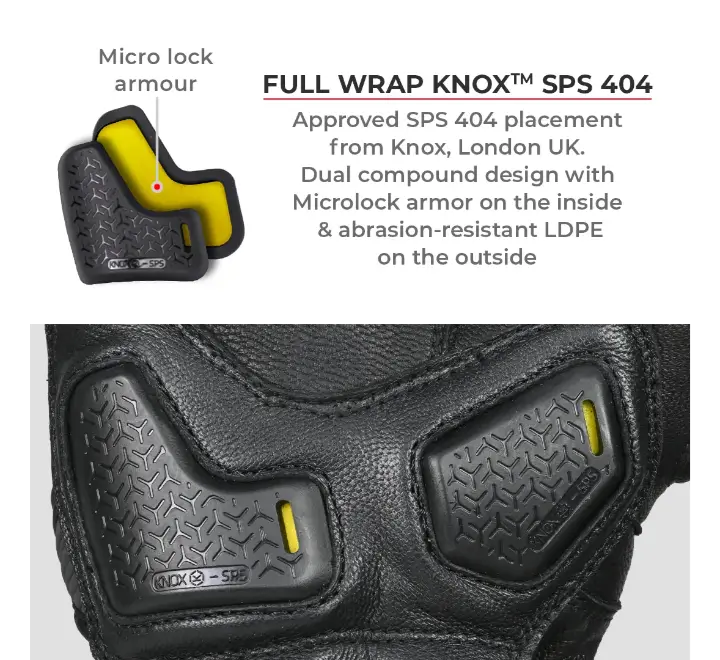
The ViaTerra Grid Mk3 is the latest improved iteration of our feature-loaded full gauntlet riding gloves that offer all the protection you need for track or touring use! The Grid Mk3 continues to feature the same premium, top-of-the-line KNOX SPS 404 protection used in the world’s most advanced gloves. Enhanced with CE Level 2 carbon fiber protectors with TPU inserts for the knuckles, carbon fiber wrist sliders, goat skin leather, and pinky finger bridge, these gloves offer the ultimate protection for Indian riders.
The Grid Mk3 has been CE tested and confirmed to meet Level 1 requirements by Intertek UK. It also meets/ exceeds CE Level 2 requirements on cuff length, restraint, impact abrasion resistance and impact protection for knuckles.
what’s included with the product
- 1 Pair of Grid Mk3 Full Gauntlet Riding Gloves
₹6,499 ₹6,500
Material:
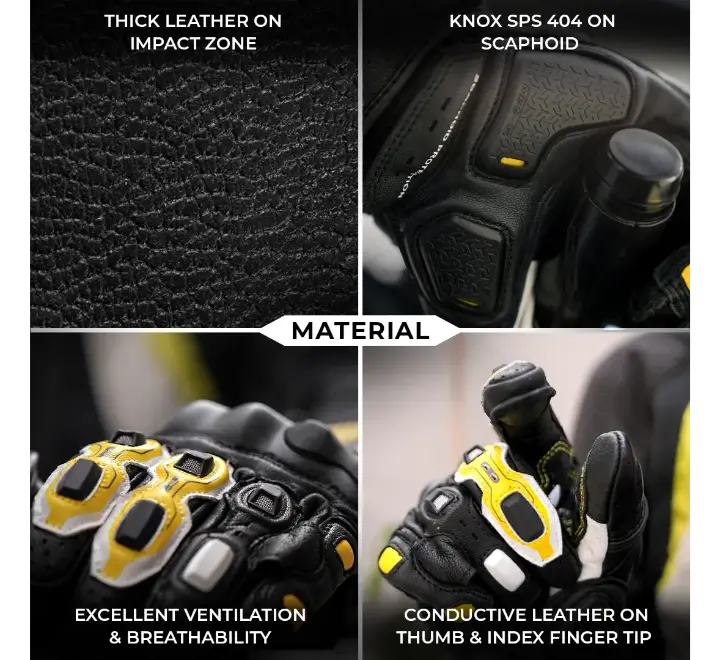
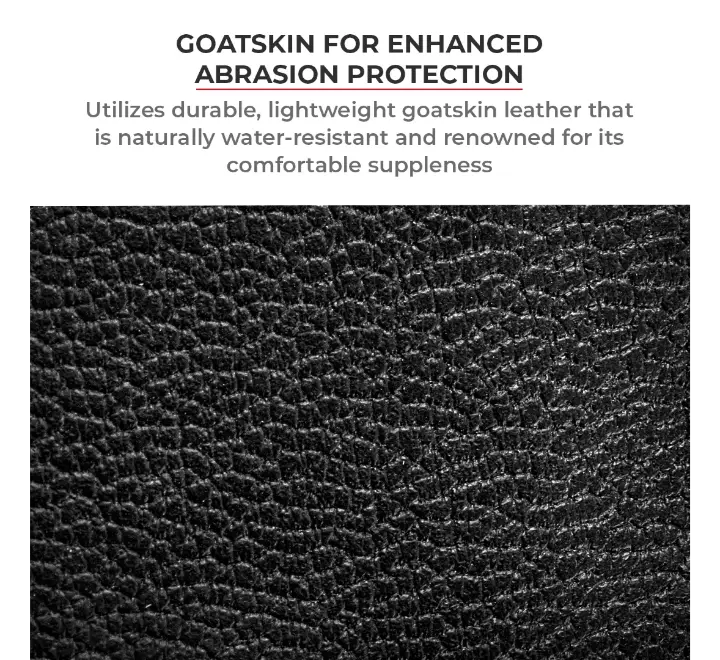
The Grid Mk3 utilizes durable, lightweight goat skin leather that is naturally water-resistant. The leather is kept as thick as possible to enhance abrasion resistance.
Protection:
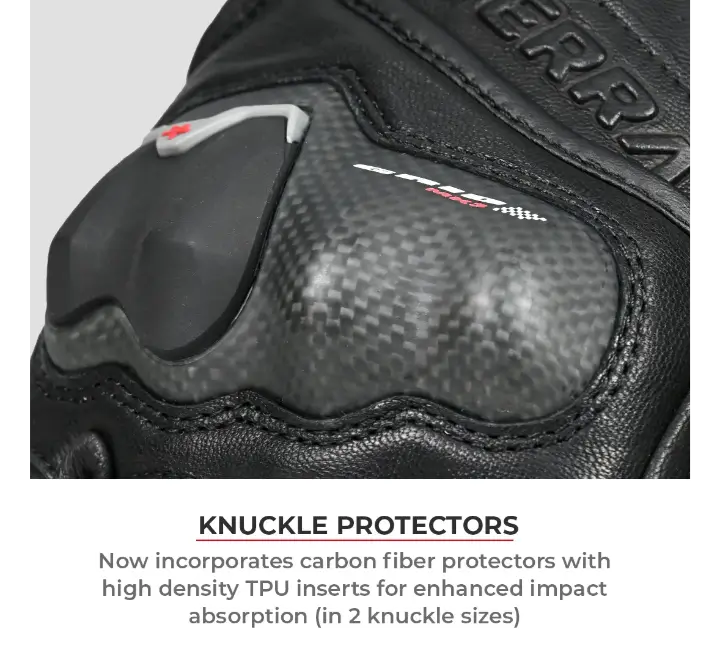
Equipped with the premium KNOX SPS 404 protection, the Grid Mk3 features carbon fiber protectors with high-density TPU inserts for the knuckles (CE Level 2), along with carbon fiber wrist sliders, goat skin leather palms, and a pinky finger bridge, offering exceptional protection for Indian riders.
The Grid Mk3 surpasses Level 2 standards for knuckle, palm, and wrist protection, ensuring unmatched safety during road touring or track racing.
Palm Abrasion Protection: 5 times the Level 2 standard
Knuckle Impact Protection: 3 times the Level 2 standard
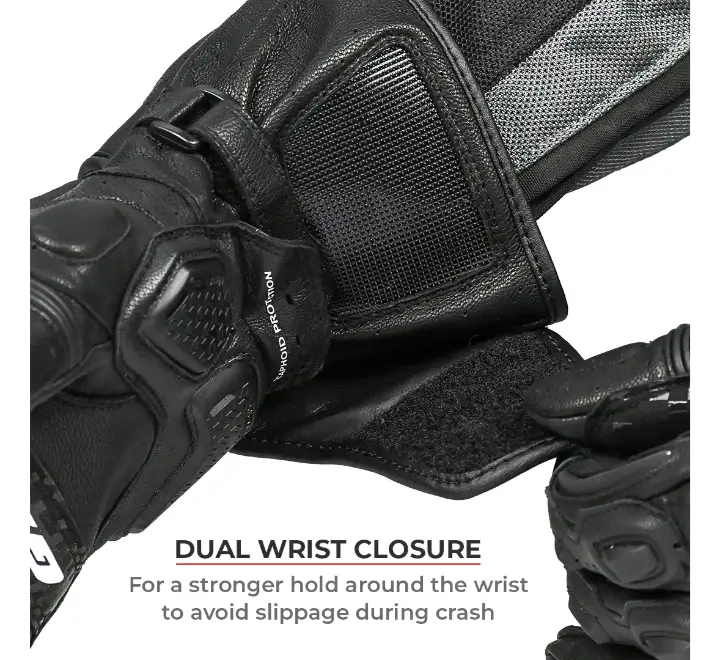
Wrist Closure Resistance: Meets Level 2 standard
Enhanced Comfort:
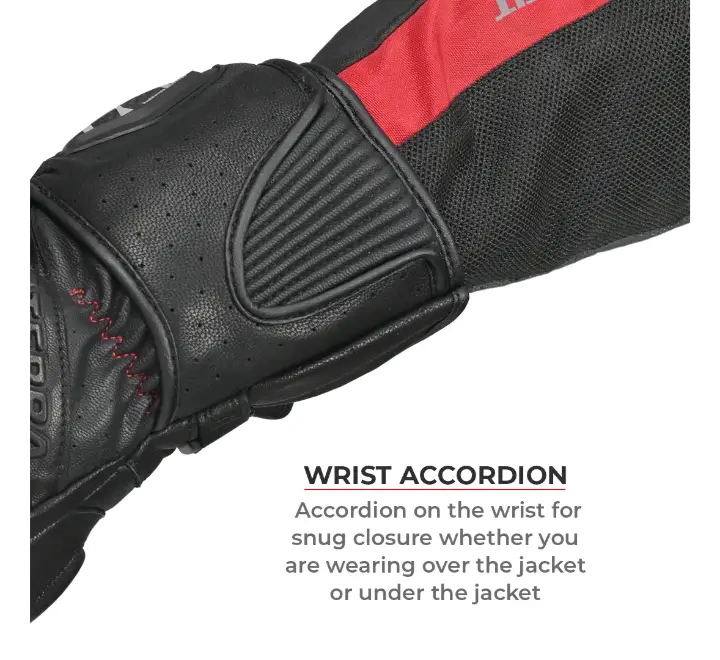
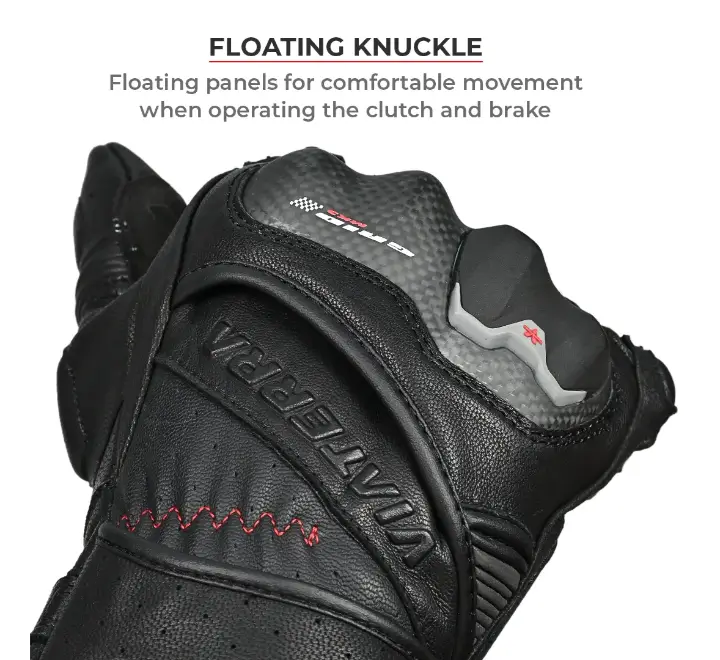
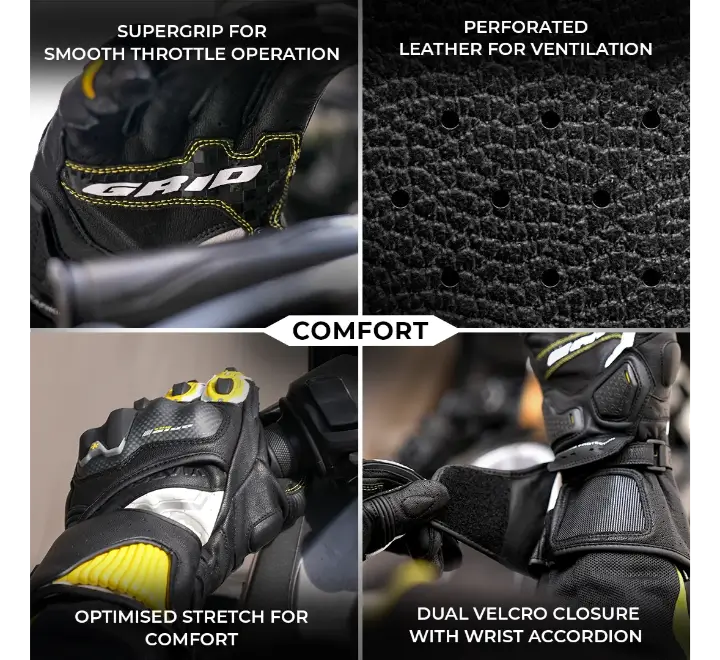
The Grid Mk3 features floating knuckle protectors and a stretch panel underneath to allow the knuckles to move freely during clutch and brake operation. Accordion panels on the thumbs facilitate an easy grip on the handlebars.
Ventilation & Breathability:
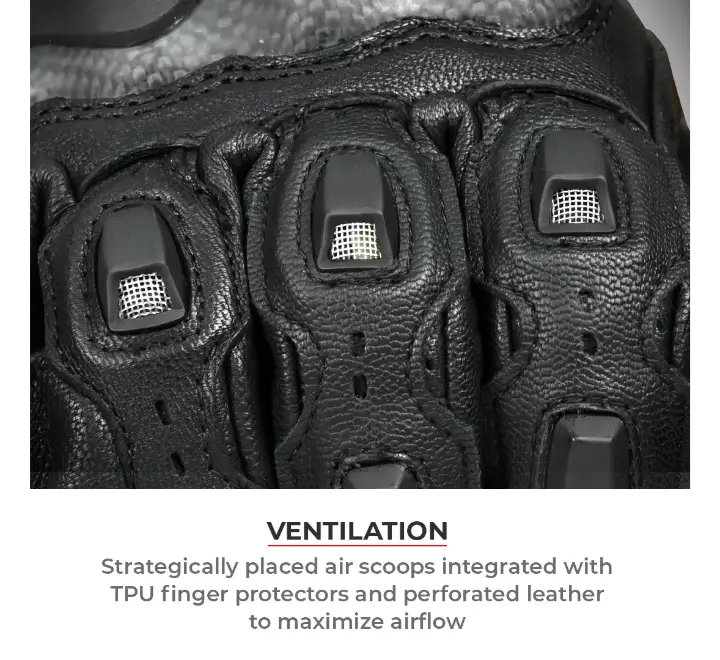
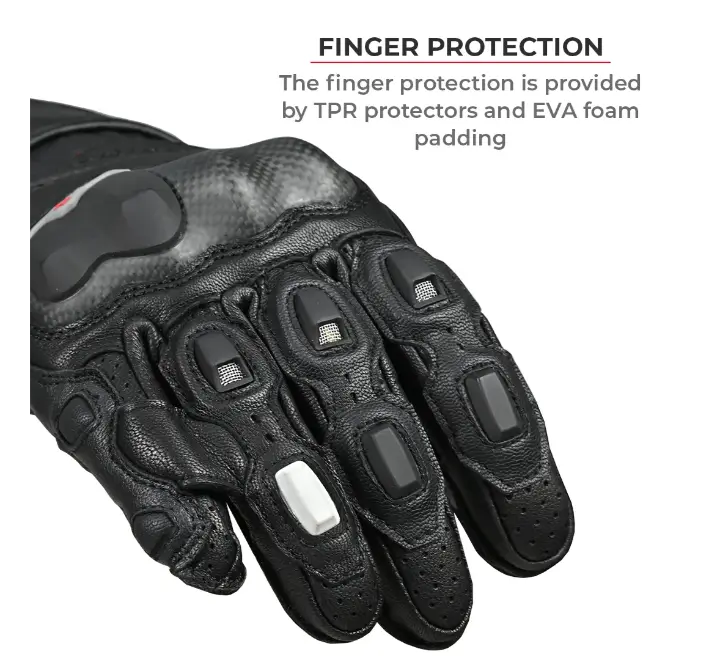
Perforated leather and integrated air scoops with the finger protectors maximize airflow throughout the Grid Mk3, ensuring excellent ventilation and breathability.
STEP 1 – Measure your hand using a tailor’s measuring tape
There are two key measurements that you need to take into consideration for figuring out your glove size. A) Circumference – Wrap the tape measure around your palm at its widest point and lightly close your hand before taking the measurement. B) Length – Measure from the tip of the middle finger to the base of your palm at your wrist.
STEP 2 – Find your glove size by checking hand measurements against the chart provided
– If both the measurements do not fall in one particular size – use the larger of the two measures to choose the glove size.
– If the two measurements are on the border line between two sizes, try both the sizes and choose the one that offers a better fit.
STEP 1 – Confirm that the gloves are a comfortable fit
They should not be excessively tight on all fingers (including the thumb) & knuckles.
To check this, try the gloves on and form a fist several times and verify if:
1. Adequate room for all fingers (specially thumb) to move and operate controls comfortably.
2. Check the fitment on both hands since your left and right hand sizes do vary.
While leather gloves do take some time to break in, ensure that the fit on first try is not so tight as to cause discomfort and/or restrict movement”
STEP 2 – Ensure the knuckle protectors are properly positioned
The way to check this is:
1. Roll your hand into a tight fist and hold the position for 5-10 minutes. This position should be easy to hold without causing any discomfort or causing any stress points.
2. Ensure that the edge of the knuckle protector is not over the knuckle when the fist is formed.
Putting on and taking off may be slightly difficult because the wrist area is narrowed down for safety reasons. This is done to prevent the gloves from coming off your hands during a crash and to offer a snug fit.
You may find it odd or uncomfortable if you have never used gloves with a pinky bridge. Give it a few days of riding and you will get used to it. Remember, any protective gear is relatively uncomfortable compared to riding without protection.
You may find the Knox SPS on the palm to be uncomfortable on the first try. But just like any protective gear, over a period of time, you will get used to it so you do not even notice it. These devices are incorporated into the gloves to ensure you are well-protected when you most need it.
In our research, we found that the palm size and the finger length are not in the same proportion for everyone (that makes each of us unique in the truest sense!). In such cases, the primary area of fitment should always be the palm area, even if you are to be left with some extra room near your fingertips.
We have used carbon fiber knuckle protectors with high-density TPU inserts to maximize protection and longevity. While we have added an additional foam layer underneath the protectors, they may feel a bit too hard at the beginning. Thinner and more flexible knuckle protectors are not very effective during a crash and do not last long either.
CARE:
Our gloves use full-grain goat leather that is naturally water-resistant. However, when leather gets wet, the oils get stripped from the leather – this will stiffen the leather and eventually cause it to crack. Think of it as your skin after taking a bath – you need to moisturize to replace the natural oils in your skin removed by the water. So, what matters for your gloves is what you do after it gets wet. Here is a step by step process to keep your glove well cared for and last longer.
Materials needed:
Microfiber/ soft cloth
Small bowl or mixing cup
Absorbent towels
Soft-bristled brush
pH neutral leather cleaner
Leather conditioner
Lukewarm water
How to clean?
1. In a small bowl or measuring cup, mix a portion of leather cleaner in lukewarm water.
2. Dampen a microfiber cloth with the mixture and gently wipe the stained areas. If the gloves have mud splatters, allow the mud to dry before attempting to clean it away. Use a soft-bristled brush to brush it away before cleaning with cloth.
3. Clean the gloves starting at the wrist and working toward each fingertip. Be sure to clean well between each finger. Keep moving to a clean area of the cloth as the dirt is transferred.
4. Rinse the cloth often as the dirt is transferred. Turn the gloves over and repeat on the other side.
5. DO NOT USE HOT WATER
6. DO NOT allow your gloves to come in contact with solvents (do not use fabric softener!), fuel, or cleaning agents.
7. DO NOT use any kind of CHEMICAL or scrub the leather
8. Do not use a washing machine or high-pressure devices to clean the gloves, as high temperatures and pressure will damage the leather.
9. Do not wring the gloves.
How to dry wet gloves?
1. Dry the gloves by pressing softly with an absorbent towel after cleaning. You can also do this when your gloves get wet in the rain.
2. Allow damp gloves to dry slowly, as this will prevent the leather from stiffening and cracking.
3. Never dry wet gloves with a blow-dryer or put them on a radiator or direct sunlight or other heat source to dry – this will harden the leather and lead to damage. Also dry the gloves indoors away from direct sunlight where there is good ventilation.
4. While your gloves are drying, periodically put them on your hands to stretch the leather and ensure they don’t shrink.
5. Just before the gloves are completely dry, put the gloves on and shape them to your hand while still damp. Remove the gloves gently, trying to retain this shape in the gloves and allow it to continue drying.
How to condition gloves?
After the gloves are completely dry, apply a good quality leather conditioner. This is very important. Properly treated and conditioned (oiled) leather will breathe and the internal microfibers will move freely in the leather.
1. Use a good quality leather conditioner that will allow the leather to breathe.
2. Apply conditioner and rub it into the leather.
3. Allow the conditioner to soak into the gloves and reapply (if needed).
4. Wipe off any excess conditioner and make sure the gloves are not slick on the motorcycle controls.
How to store?
When gloves are stored wet or in a non-ventilated area, this may cause deformations and ruin your gloves, not to mention this allows mildew to grow on the leather causing discoloration and damage.
1. Make sure that your gloves are completely dry before you store them.
2. Place them in a breathable cotton bag to protect them from dust but with enough air circulation to prevent mildew from forming.
3. Store them in a cool, dry, well ventilated area












There are no reviews yet.